Settings (Profile)
To begin recording immediately, you do not need to change any settings, however to get the most out of our apps, you should change some settings to suit the way you ride, including registering heart rate devices and our motion sensing boots
Navigate to the Settings (Profile) screen
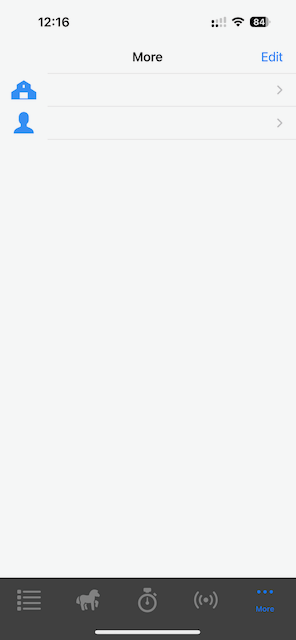
To get to the profile screen, click the “Profile” menu button, in the lower navigation bar. Its on the far right, with the with a sillhouette of a person for its icon:

You will then be presented with the Profile page:
All settings configured in here are only stored on the phone, except for the finish lines which are shared across any phones logged into your account.
Account and Recording Options
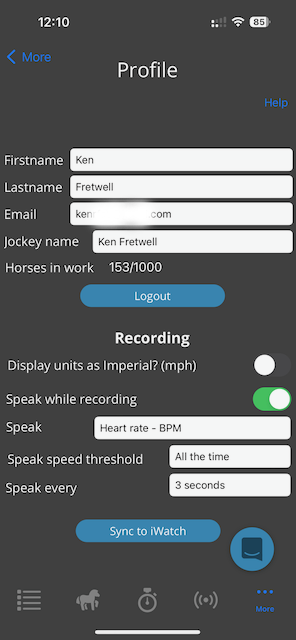
The settings that you use most often are shown first. In this first section of settings you can see recording settings.
Moving down to the Recording section:
You can use the drop downs to choose your Main Display data points, and Secondary Display data points. e.g., Seconds to the Furlong, Heart Rate, Speed, Elapsed Time.
Use the Display Units drop down to choose to display speeds in Imperial Units (miles per hour) or Metric Units (Meters per second)
As a Jockey using the app on their phone while recording, they can optionally turn on the Speak function to have data read out to them (replacing the traditional beeper) Typically the jockey would use a set of paired bluetooth headphones (Apple airpods etc).
To set this up:
First check the Speak stats? box.
Choose what data point to read out, from the Speak Value drop down:
Seconds to the Furlong, your Furlong time in seconds, given your speed at the current point in time
Heart rate, the real time heart rate from a connected bluetooth device on the horse
Speed - km/h, your speed in km/h
Speed - mph, your speed in miles per hour
Next, set Speak Every to choose how often to speak the value out. We find either 3 or 5 seconds works well for most jockeys.
Finally, Set the Speak Above Speed threshold to a speed above which you would like to speak the values out. When speaking out the sectional times this is particularly useful so you don’t have sectional times read out to you at slow speeds, like when trotting up or walking out to the track.
Fetlock and heart rate devices
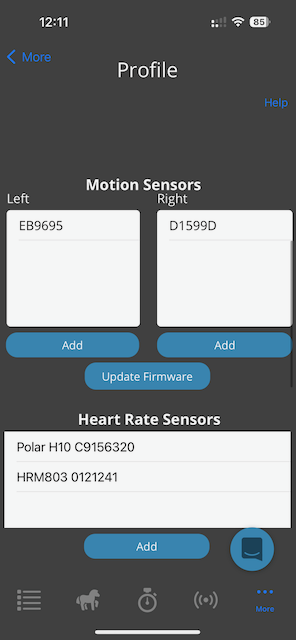
The Sensors section allows you to add (pair) devices, including Heart Rate devices, and our motion sensing fetlock boots. Each boot is either a left or right boot (velcro is always secured on the outside of the horse). To pair a new boot:
Make sure the boot is charged and near by, and other boots are more than 2 meters away.
Press the Add button for the corresponding side of the boot you want to add
Follow the instructions on screen to pair the boot.
Once added it will appear in the list on the corresponding side (left/right)
To remove a boot, simply swipe to the left to delete.
Heart Rate Sensors are added in the same way as our fetlock boots.
Make sure the heart rate sensor is fully charged, or has a new battery.
Press the Add button and follow the on screen instructions, while holding the heart rate monitor on the top of your screen
It’s important to note that most heart rate monitors will go to sleep after a very short period of time (around 30 seconds). When this happens it becomes invisible so its important to wake it up while pairing.
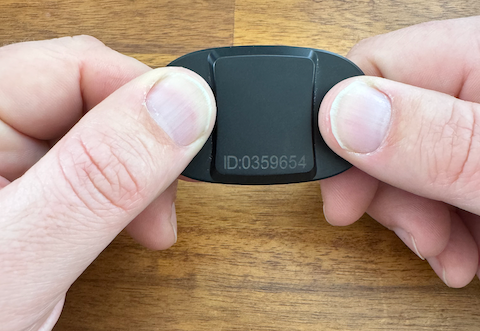
To do this, place your phone on a table while pairing, and hold the heart rate monitor in both hands, ensuring you place a thumb on each of the metal contacts:
Hold Hr module in both hands:
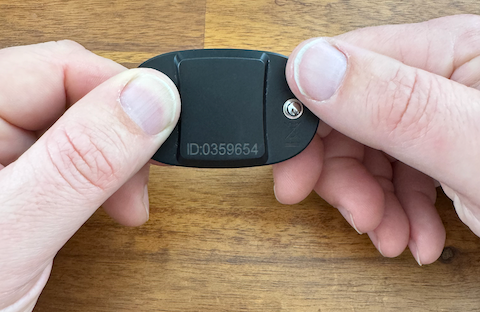
Wake HR module up:
Our app can pair and connect to any brand of bluetooth heart rate monitor, whether it’s Polar, Wahoo, StableForm, or any others.
Sync to iWatch Use this to force settings to be pushed to our app on your iWatch. Make sure the app is active on your iWatch and you are looking a the app, to ensure the screen is not locked/dimmed. Press the sync button and follow the instructions.
You can edit the Jockey name to something more appropriate, this name is used in the live view data so you know what jockey is riding the horse. It is also stored against any recorded training.
Custom finish points
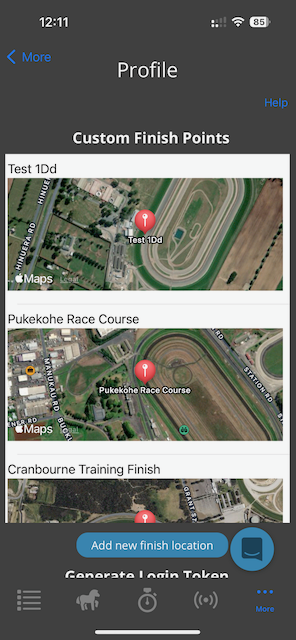
Custom Finish points You can add your own finish points, which our processing engine then uses to calculate your sectionals, and associated statistics from. If you are recording training and don’t cross a known finish line (either one of your own, or a public finish line we have setup), the system will take your fastest speed and make an assumption that that was the point of your finish line.
To add a new finishline:
Press the Add new finishline location button
Press the Use current location button to zoom the map in to your current location
Press and hold on the red pin to drag it to your finish line location. You may need to zoom out to find your perfect spot easily
This is always easiest to do while near the location you need to mark as the finish line
Next add a name in the Finish point name field at the top of the screen
Press the Save button to save the finish point
This finish line will now be used for all future tracks you record
You can, if you wish, toggle the Public switch to on, so that other users can use this finish line, i.e. at a large public training facility only one finish point needs to be set. Finish points set to public cannot be viewed by other users.
Advanced settings
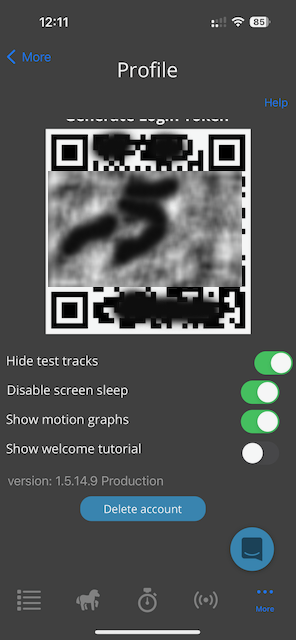
Hide test tracks: when toggled on, will hide tracks from the activity view where they appear to be test tracks, generally they’re too short or don’t appear to have valid training data.
Disable screen sleep: will ensure your phone does not lock the screen while recording. This is useful if your phone is not in your pocket while recording, i.e. you are able to watch the screen while treadmilling, or riding in a sulky etc.
Show motion graphs: enables you to display advance motion graphs while recording data with our fetlock boots. This is useful while treadmilling and horse and you want to see the hoof action in real time.
Show welcome tutorial: will show the welcome screens the next time the app is launched.
version: displays the current app version. Occasionally we may ask you to confirm this for support purposes
Delete account: This button allows you delete your entire account, including all training data. Use it wisely, we CANNOT recover a deleted account!!!!